
The night started with some sanding. A lot of the plaster started to break off from the vibration, but I was able to smooth out a few rough spots. The part I focused on most was smoothing out the edges to minimize splinters in handling. I had the right idea with the plaster, but it didn't work too well. Once the felt was on, I could really see the indentation where there were gaps. I'm hoping that the paint and effects will draw the eye away from the valley that they'll be moving through... At least it will keep the dice on the table.
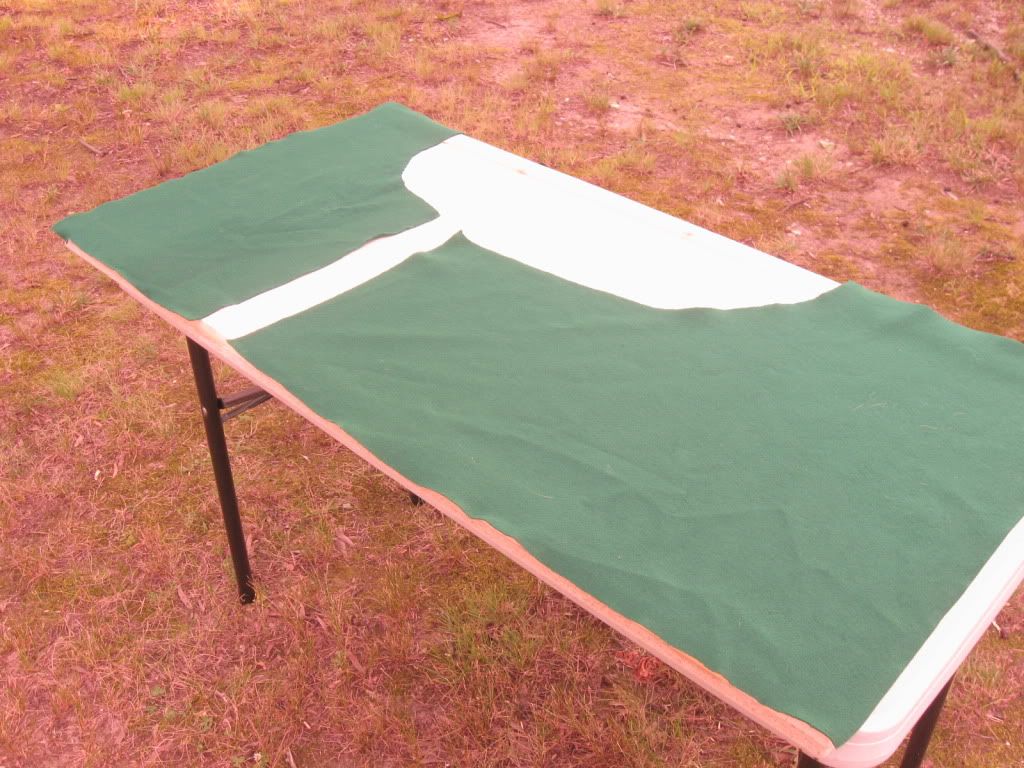
First off was to rough cut the felt to the shape needed. I wanted to minimize the waste of the felt, and stretch another 2x4 board out of the 72"x54" piece. For this, I roughly cut where some roads would end up in order to make it last. You can also see where the cliff will eventually go. Once the pieces were cut, with a 1/2" overlap around the edges, I spray them with the hose.
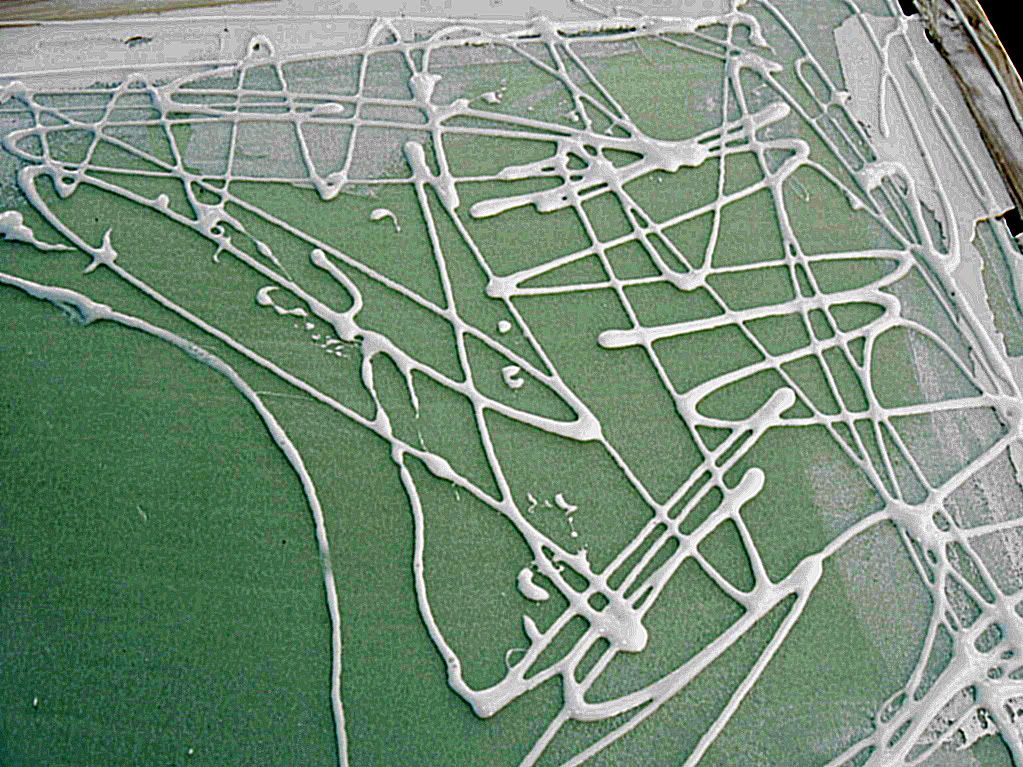
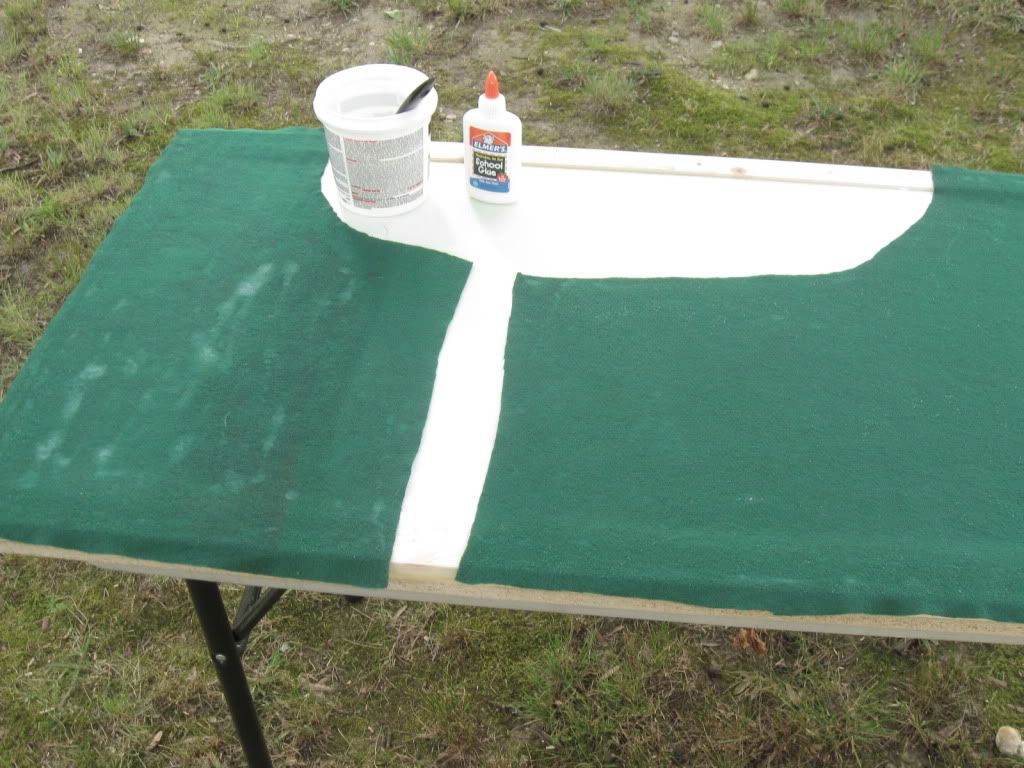
By moistening the felt with water, it prevents the felt from soaking up the glue too quickly. As the glue dries, the felt will stick. I started by spreading the glue around the edges, with a continuous bead, then I spread it everywhere. Don't skimp here. I went through four 4 oz bottles for the two boards. As you can see in the pictures, the glue will seep through the felt in areas where it is really thick. This is fine, because it will dry clear. Work one piece at a time to keep the felt from drying out too quickly.
 I decided to add the hill before I covered the felt. Trying out the piece I cut showed that the felt would stretch well. So I shoved a number of penny nails into the base, with the points sticking up, and covered the area with glue. Then I pressed the hill down on the nails. To attach the felt, I focused a lot of glue around the seam where the hill connected with the board and coated the top of the hill. I started the felt on the hill and pressed down into the creases. Keeping one hand on the base of the hill at all times, I worked my way outward to the edges. In this way, I was able to simultaneously keep it from wrinkling and from stretching away from the base. I've now put the two boards away to dry. Tomorrow night looks unlikely, and I promised my wife I'd work on the house all day Saturday if I could work on the board all week. I'm hoping to work on this again on Sunday afternoon.
Next up, I'll cut the felt to its final size and reglue anywhere the felt is pulling away. Then, I will turn my focus towards the cliffs. In order to incorporate then in properly, I think they need to be done before I start on the roads. So I'll build up the cliffs, using pine bark and foam, then work on the roads, cutting into the foam and laying down spackle. Once the roads are laid out, I'll focus on adding some texture, then start painting. Though I know how long painting can take, I feel like the hard part is already behind me! Here's hoping the felt stays glued on...

3 comments:
Its starting to look like a really nice. I see you're going to use pine bark for the cliffs, is this something you got from Quinda?
If it is, then I might have to join you in making them. The cliff that I have looks like a skate board ramp at the moment.
LOL. Yeah you can join me. I'll likely be working on it after church on Sunday, if you're able to come over.
I am using the cliff method from Quindia. A neighbor had pine bark around her plants, and although she gave me a strange look when I told her what I was going to use it for, she told me I could take as much as I needed.
Try brushing the glue on the board next time. You'll get a more even coat.
Post a Comment