
Day 2 focused on bridging the gap between the edges of the board and the foam, a small gap of maybe 1/8", and building the hill that would be permanently attached to one of the boards.

The day started off well as I was looking for Elmer's White Glue, since I had used my supply the prior day attaching the foam. I checked Target, Michael's, and Office Depot, until I found a great deal at Wal-mart: 4 oz glue bottles for $.25 each. For $3, I picked up the equivalent of a quart of glue (which cost $8 at Michaels). That should last me a while. Sure, it's washable School Glue, but I don't plan on exposing my board to the elements, so it should suffice.
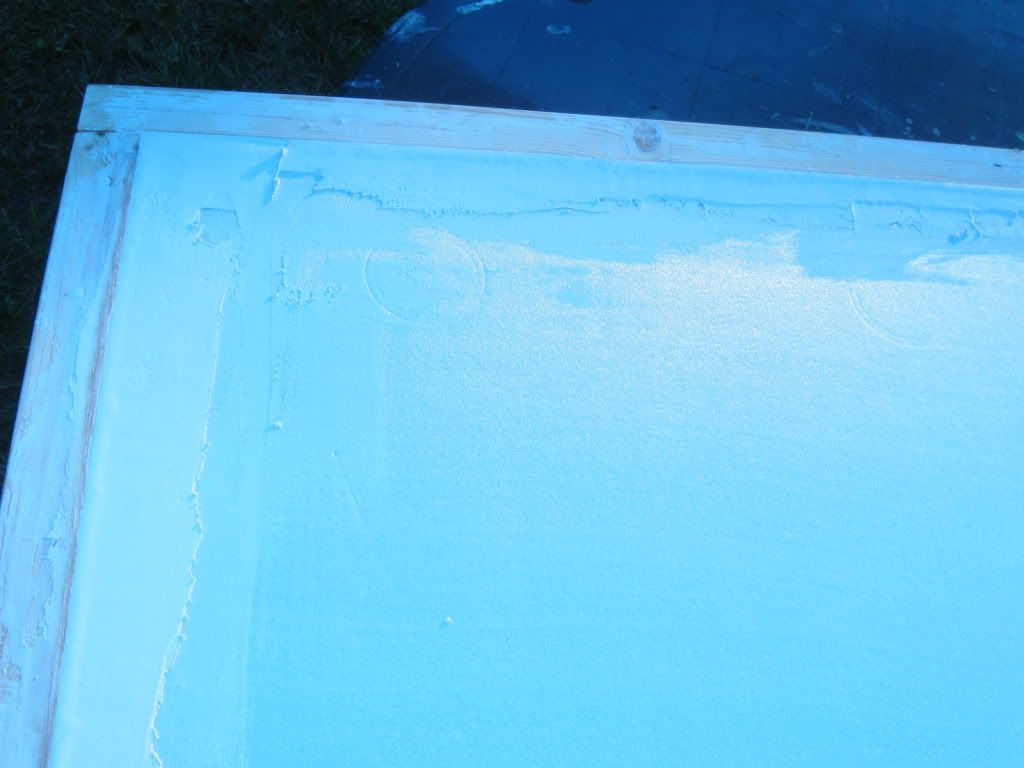
I started working on the board that would have the hill attached to it since I'd need that board first to work on. In retrospect, bridging this gap was probably highly unnecessary, as the gap would probably not be noticed under the felt and it used the rest of my quart of spackle. I'll need to pick up another quart to do the roads and the cliff face now. But I finished the boards and set them aside to dry. I won't be working on these tonight, but I plan on sanding them down on Thursday night. I will also take my sander to the edges of the boards to ensure the trim and the MDF match up and the two boards fit together tightly. If I had focused on getting a tighter fit with the foam, sanding down the trim a little bit would have handled the gap issue without the spackle, and I could have spread felt last night. Oh well. I'm learning.
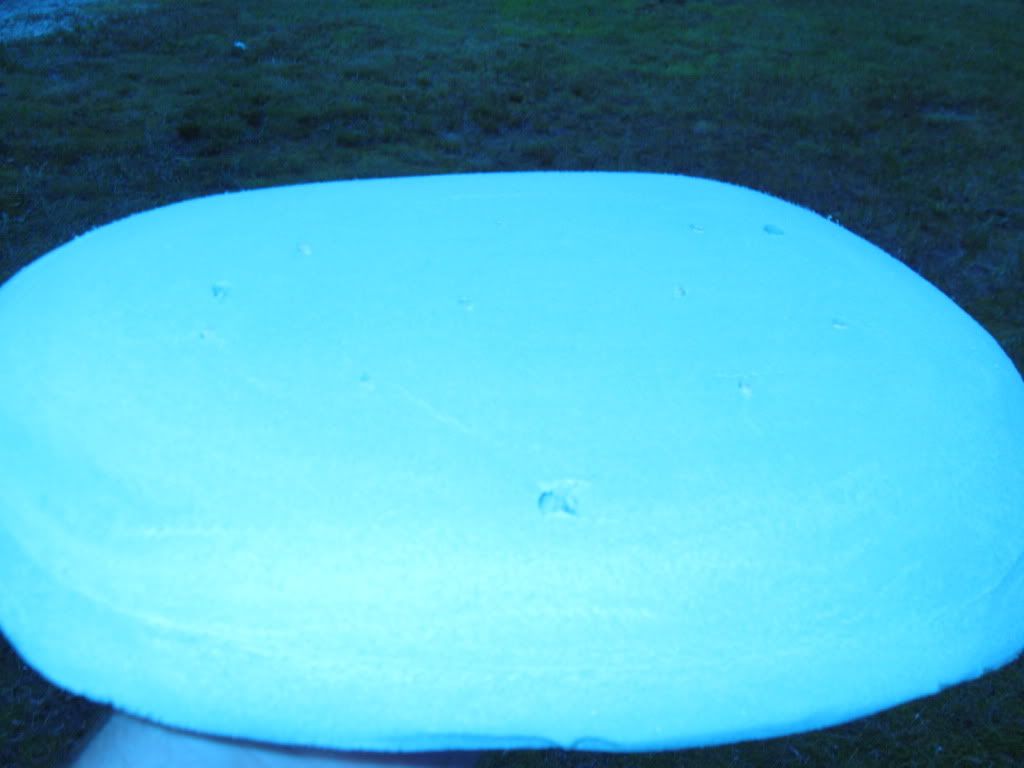
If a blade is foam's worst enemy, the a sander is its best friend. I started by cutting our a rough shape in my 10"x14" double-thick piece of foam from the prior night. At one point, I got so frustrated with my dull blade that I started hacking chunks off of it with my spackle tool and ripping them off. Real professional, I know. So I turned to my sander. I have a two-handed Orbital Sander that takes a half-sheet of sand paper. I loaded it up with 100-grit paper and started to shape. A rougher grit would have done the job a little faster, but this worked well. As I was sanding, I discovered that the glue from the prior night hadn't set entirely yet, and the hill had very little lateral strength to it. So I decided the reinforce the join to give it more sheer resistance. For this, you could use toothpicks or a wire hanger, though you'd want to watch where you sand with a hanger, as it will eat through your sandpaper. Lacking toothpicks, I went with some wooden kabob sticks I'd saved earlier in the year. When in doubt about something crafty, save it. I shoved 10-12 1" lengths of these through the hill to hold it tight and continued sanding. For this hill, I wanted height and didn't want it to be stepped. So it is a little steep in the ascent, and models likely won't be able to stand on the side of it. I may ease out the slope a little more tomorrow night, but I'm overall pleased with how well the sander worked on this.
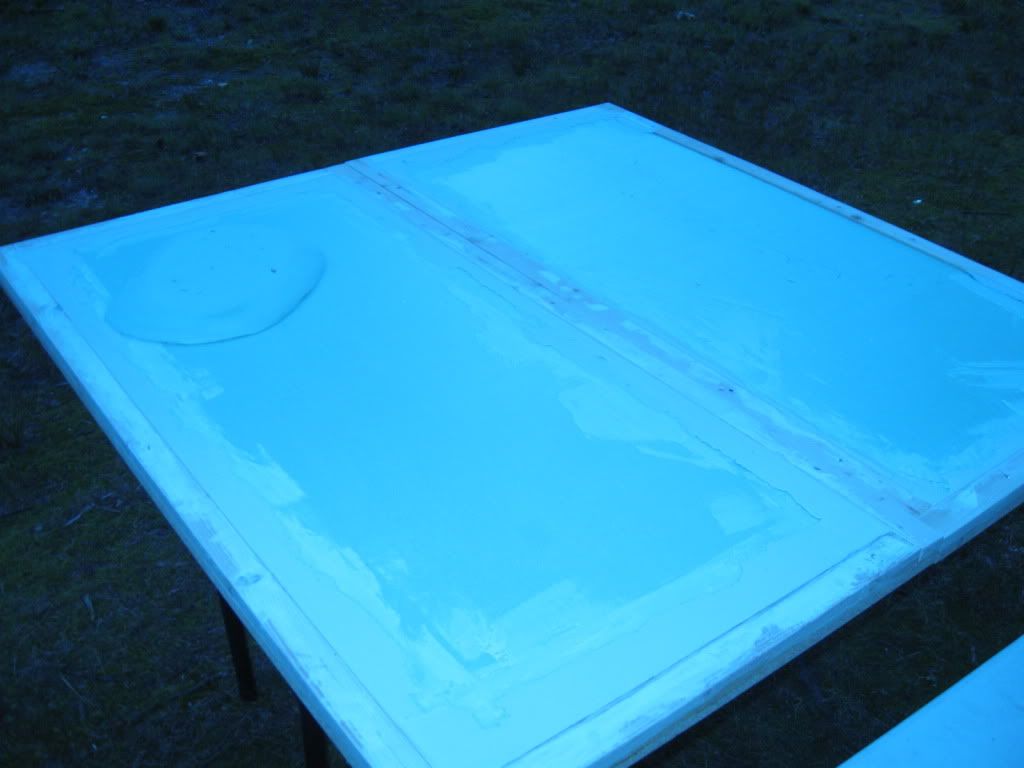 So my work for the night is finished. I had my wife check Weather.com to see if there was a chance of precipitation for the night and there wasn't so I left these outside. Sure enough, at 10pm, we heard rain. I was able to get them in without them getting wet, since they were set up under a tree, but I'm thankful my wife thought she heard rain. We checked the radar on Weather.com and sure enough, there was one lone cloud sitting over our town, with not a cloud anywhere else in the state visible. Hilarious. Thursday night will consist of sanding down the spackle and finally spreading the felt! I'm thinking over how I'm going to spread the felt over the hill, at this point. I'm not sure if I should cover the hill separately, or incorporate it under the main felt. I want to minimize cuts and wrinkles in the felt, but don't want it to look like it is a separate part of the landscape.
No comments:
Post a Comment